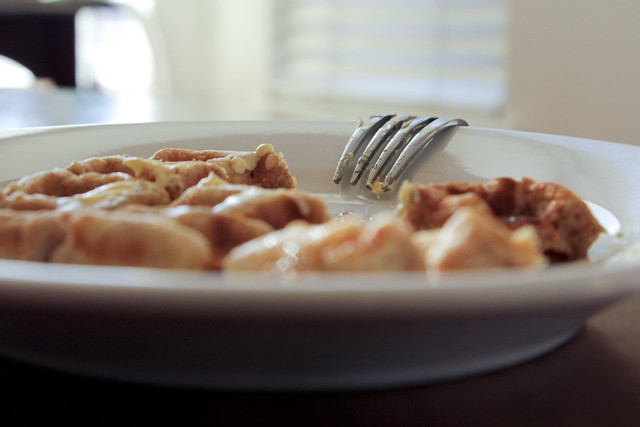
We eat a lot of waffles around here. Our Captain actually refuses to eat anything for breakfast besides waffles and cinnamon rolls. And since I can't seem to make more than a dozen cinnamon rolls at a time, (um, plus they are a significantly less healthy option) waffles it is. I make a massive batch of these once every two weeks or so. I like making them myself because I can sneak in more whole grains, they are cheaper, and they taste better than store-bought frozen waffles. It is kind of an ordeal on the mornings I make them, but it saves me ever-so-much time on the mornings that I just pull them out of the freezer. For me this is a recipe/life hack. I thought I'd share.

- Whole Wheat Freezer Waffles
- 3 cups all-purpose unbleached flour.
- 3 cups whole-wheat flour
- 1/3 Cup + 1 TBSP cornmeal
- 3 tsp salt
- 1 1/2 tsp baking soda
- 6 large eggs; separated
- 3/4 Cup (1 1/2 sticks) unsalted butter, melted and cooled
- 5 1/4 Cups Water
- 3/4 Cup + 4 tsp Buttermilk powder
- 1/3 Cup Maple Syrup
- 1/2 tsp Maple Extract
- 1 TBSP Banana Extract
- 1 TBSP ground Cinnamon
- 1 tsp cream of tartar
- Vegetable Oil spray for waffle iron
- 1. Heat Waffle Iron
- 2. Whisk flours, cornmeal, salt, baking soda, buttermilk powder, and cinnamon together in a large bowl.
- 3. In separate bowl, whisk egg yolks and melted butter together, then whisk in water, maple syrup and extracts until uniform in color.
- 4. In a large bowl, whip the egg whites and cream of tartar with a handheld electric mixer on low speed until foamy, then on medium high speed until whites hold stiff peaks, at least 3 minutes.
- 5. Make a well in the center of the dry ingredients, and pour 1/4 the butter mixture into the well and mix with a wooden spoon until all liquid is incorporated. Then move wet portion to the side and create another "well" and repeat with 1/4 of butter mixture at a time until the mixture is incorporated but still lumpy and no dry pockets remain.
- 6. Fold whipped egg whites into the batter with a spatula.
- 7. Spray the hot waffle iron with the vegetable oil spray, then spread the appropriate amount of batter (for me it's around 1/3 cup per 4" waffle) in the iron. If freezing, cook until firm but not yet golden brown. (I set a timer for 2 minutes). If serving immediately, cook according to your waffle iron's specifications. Repeat with remaining batter, spraying waffle iron as needed between batches.
- 8. Allow waffles to cool completely on a cooling rack.
- 9. Package and label your waffles in gallon freezer bags. You can fit them tightly, but try not to compress them as you do it, makes them hard to separate when frozen.
- 10. Store in your freezer for up to 6 weeks. To serve, open freezer bag and remove a waffle (may require minimal prying) reheat in a toaster on a medium-high setting (on my toaster I use setting 4 out of 6).
- 11. At our house we then butter the waffle, cut it into kid-sized bites, then coat with maple syrup and whipped cream.
*This recipe is almost entirely adapted from the Whole-Wheat Buttermilk Waffles recipe in the "America's Test Kitchen Healthy Family Cookbook." I found their recipe to be a bit bland, so I added the extracts and cinnamon. I also found it to be more economical to use the buttermilk powder instead of buttermilk, because I make this large batch of these so often!

No comments:
Post a Comment